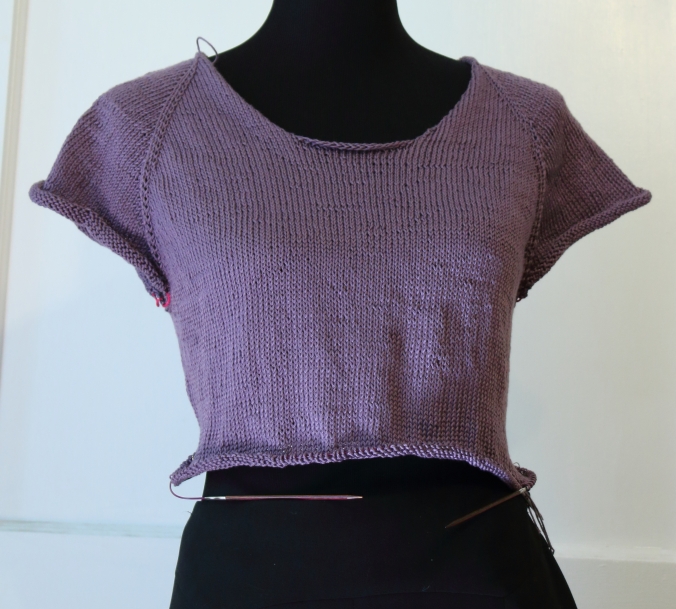
I know I’ve said this before, but I love top-down knitting! My favorite thing about top down garments is that you can try them on as you knit to get the fit just right for your body. No two bodies are exactly alike, so I include notes in all of my patterns encouraging knitters to try on the tee or sweater as they work to get the fit just how they want it. I always want my testers and knitters to finish with a garment they will love to wear or gift!
Once you understand the basic plan, the process is simple to tweak almost any top-down garment to get it just how you want it. Need to start the waist earlier or later to get the fit just right for your body? Yes, do it! Need to add more hip increases? Yes please! Need fewer hip increases? Well, aren’t you lucky! Yes do it! Want the final garment length shorter or longer? Great! Please don’t forget that if you decide to lengthen, you’ll need more yarn to finish!
If you’ve never knit one of my designs before, my waist and then hip shaping may feel slightly foreign to you. I use a variation of the same shaping in all of my top-down designs. I found something similar to it years ago when my favorite store-bought sweater died, and I haven’t used another shaping since, because I feel this one is very flattering for so many different body types.
The goal is to place the waist decreases just above the natural waist line. Then knit for about 2″ from just above the waist line to a bit below the waist. Then start the hip increases to flare the garment gently back out. As written the waist decreases give my garments a waist about 1″ to 2″ smaller (depending on the weight and gauge of the yarn used) in circumference than the chest measurement. And the hip increases as written give the garment a hip measurement about 2.5″ to 4″ larger (again depending on the weight and gauge of the yarn used) than the chest measurement.
This tutorial starts on Step 5 (Steps 1-4 covered in this earlier post). So here is my process from the underarms through waist and hip shaping:
Step 5: Work down body to the waist.
Step 5: Work down body to waist. After the underarm stitches have been cast on, the body joined in the round, and the sleeves placed onto scrap yarn to be worked later (Steps 1-4 covered in this earlier post), work in the round on just the remaining body stitches until body measures about 5″ from the underarm cast on — or to your desired length.
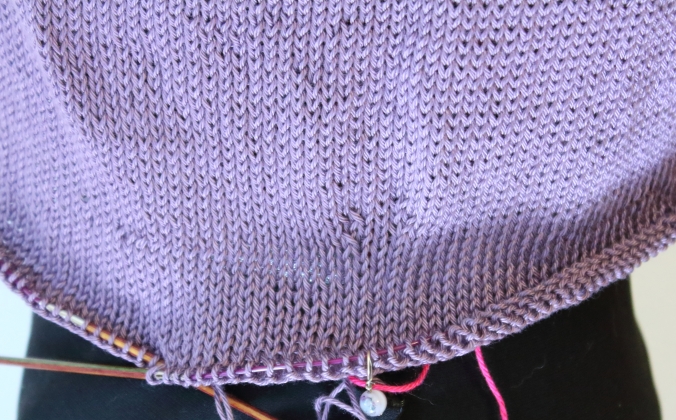
Here you see Step 6 (decrease rounds) follow by Step 7 (about 2″ of plain knitting at the waist) from the side.
Step 6: Waist Shaping. My waist decreases occur one right after the other at the beginning of the waist, with just one knit round between two decrease rounds. The lines of the pattern generally read something like this “Decrease Round: *Sm, k1, k2tog, k to last 3 sts before marker, ssk, k1; rep from * to end. (4 sts decreased). Knit 1 round. Repeat Decrease Round (4 sts decreased)“.
If you look closely in the picture above you’ll see that the k2tog leans just slightly to the left and the ssk leans just slightly to the right in towards the side marker.
Step 7: Knit about 2″ (5 cm).
And here you see Steps 6 and 7 from the front.
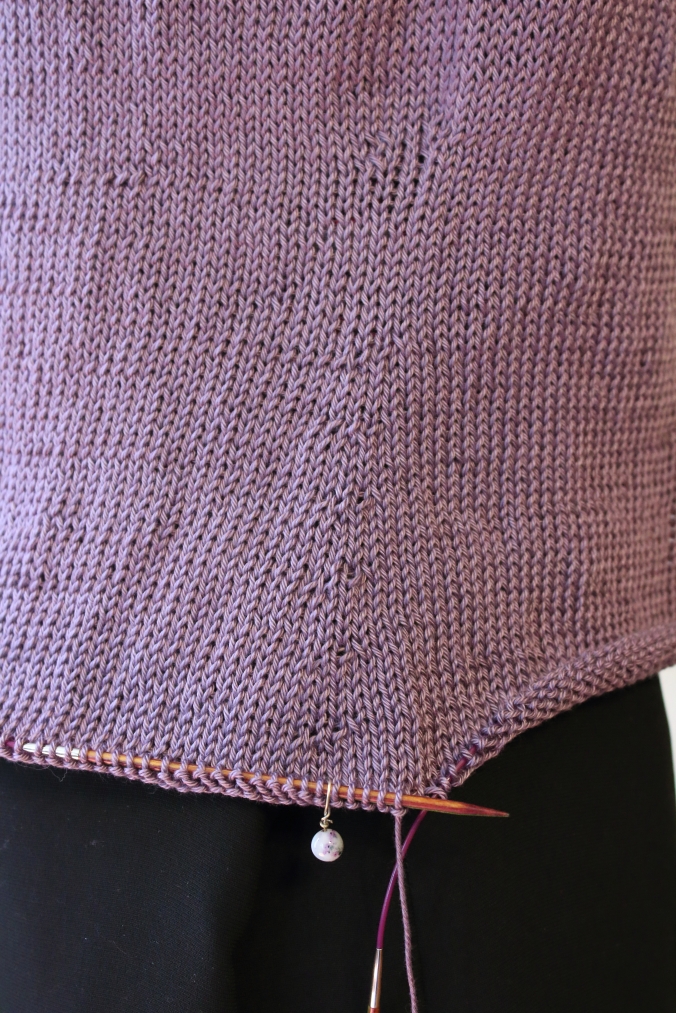
Here you see Step 6 (waist decreases), Step 7 (about 2″ of knitting straight with no increases or decreases for the waist) and Step 8 (hip increases).
Step 8: Hip Shaping. My hip increases are usually placed about an inch apart to allow for a gradual flare out from waist to hip. The lines of the pattern generally read something like this “Increase Round: *Sm, k1, m1, k to last st before marker, m1, k1; rep from * to end. (4 sts increased). Knit 5 rounds. Repeat hip increases every 6th round five more times for a total of six increase rounds.”
In the picture above you’ll see that my m1 increases lean just slightly to the left and to the right outwards from the side marker. I use either M1R and M1L or RLI and LLI for this depending on how each individual yarn works up. (FYI: The increase bumps become less pronounced once a garment is washed and blocked.) Look for a later tutorial about these different increases.
Here you can see that the process gives the garment a flattering hourglass curve in at the waist and then gently back out for the hips.
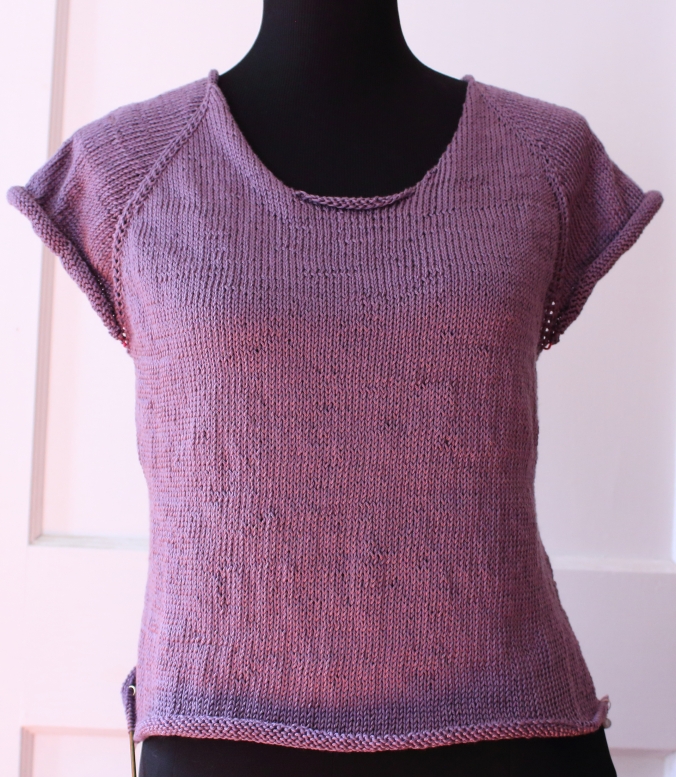
And there you have my basic process from the underarms through waist and hip shaping.