Tutorial: DIY Beaded Stitch Markers

pile-o-markers-ddp

I love stitch markers. I use them in all my designs. A while back I posted how to make simple beaded jump rings with seed beads. You can see that tutorial here.

Today I’m going to walk you through the process of making the unique markers that I use to denote beginning of rounds. You can make unique markers from many different types of beads so they are easy to personalize and make very nice last minute gifts for knitters on your list!

Making these beaded stitch markers does use more tools and findings (easily found online or at a craft store) and some practice.

gather supllies 4076

First gather your supplies. You’ll need:

  • stainless steel headpins or eyepins
  • beads, beads and more beads
  • sacrificial straight knitting needles in US sizes 7 and 10 or so  (unless something goes wrong you should be able to use the same needle for hundreds of stitch markers but it might get scuffs or scratches making it no longer usable for yarn)
  • needle nosed pliers
  • rounded jewelry pliers
  • wire cutters
  • small container to hold the beads and bits as you work

If you’re buying your beads online, two of my favorite sources are Fire Mountain Gems and Shipwreck Beads. They both also carry all the tools and findings.

step 1 put beads on head pins 4114

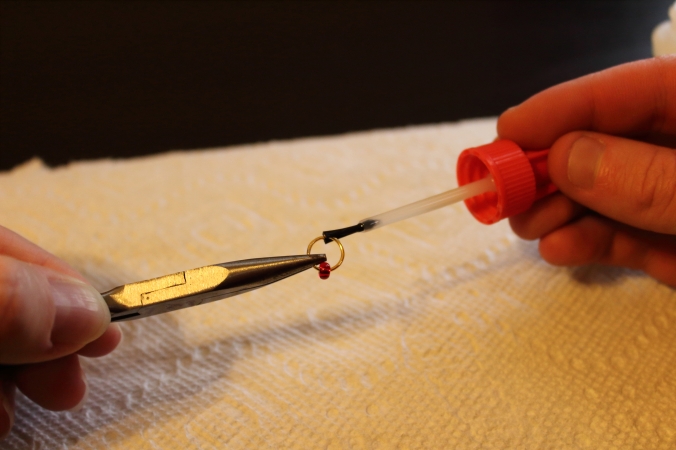
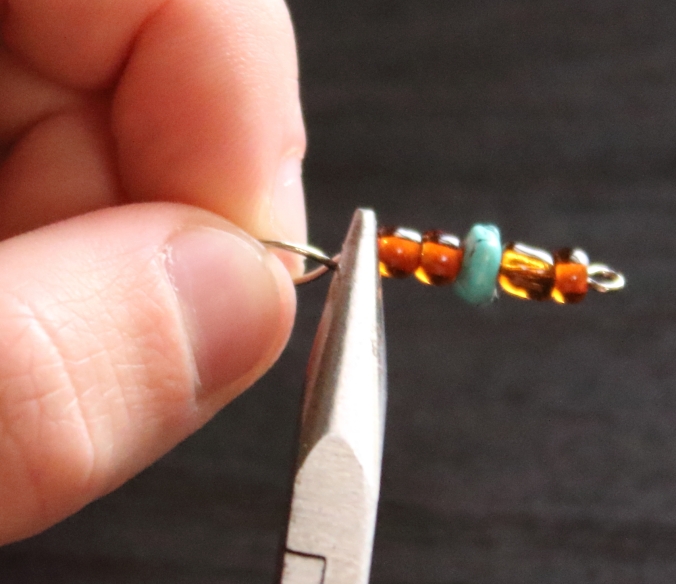
Step 1. Choose and place your beads on stainless steel headpins or eyepins. It makes sense to choose smaller beads for stitch markers you plan to make into the smaller sized markers.

step 2 wrap around needle 4206

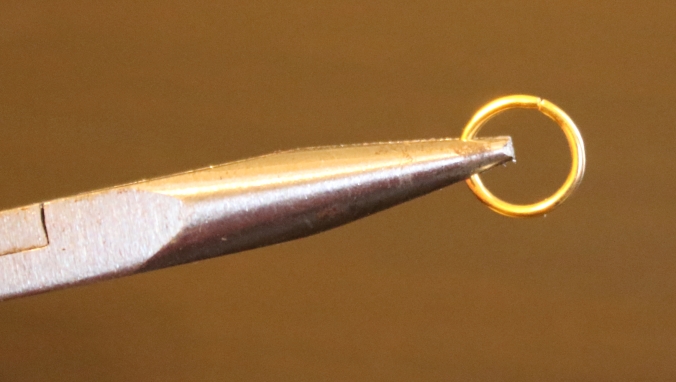
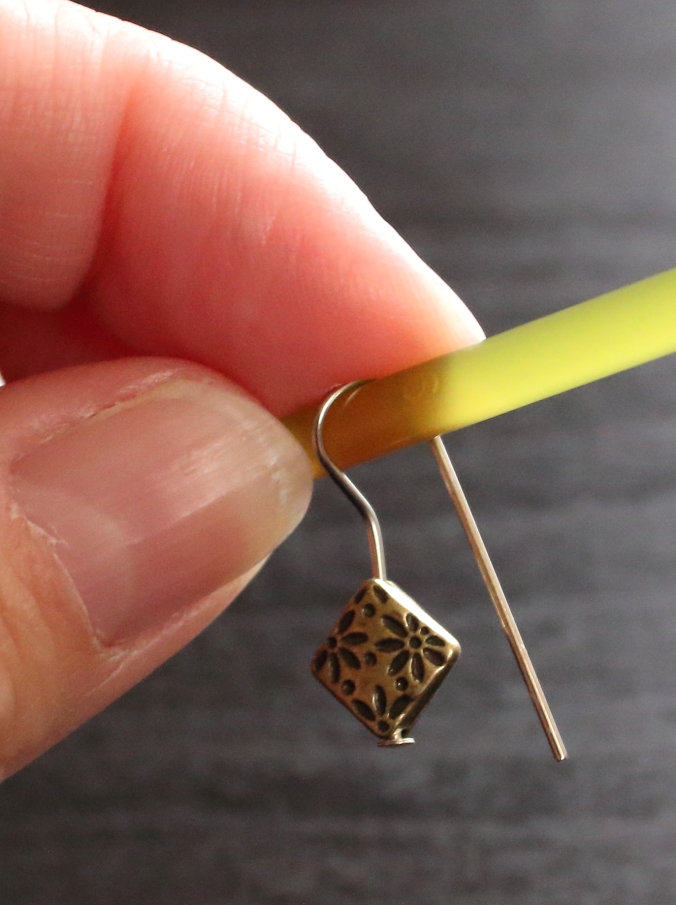
Step 2a. With your fingers wrap headpin around the sacrificial needle.

step 2a bend back a bit 4215

Step 2b. Bend the wire slightly back. Then with rounded pliers wrap the excess wire around the headpin.

step 2c double check you like the length 4227

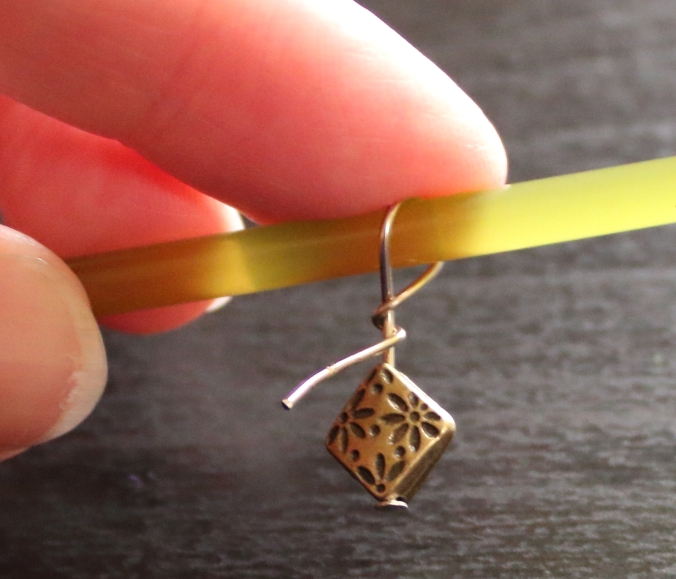
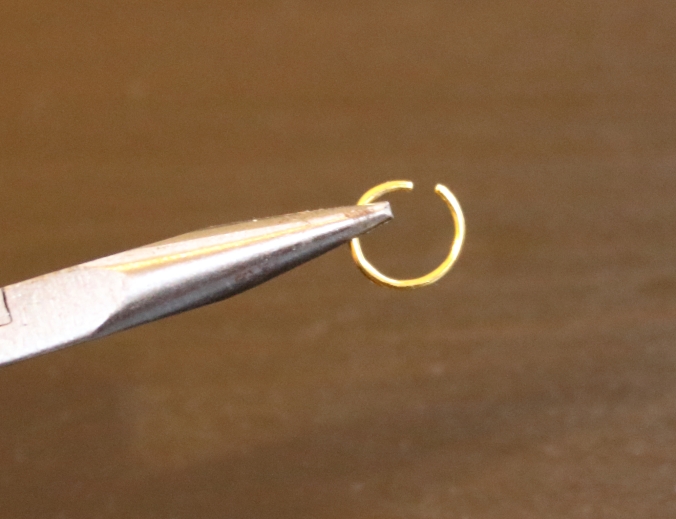
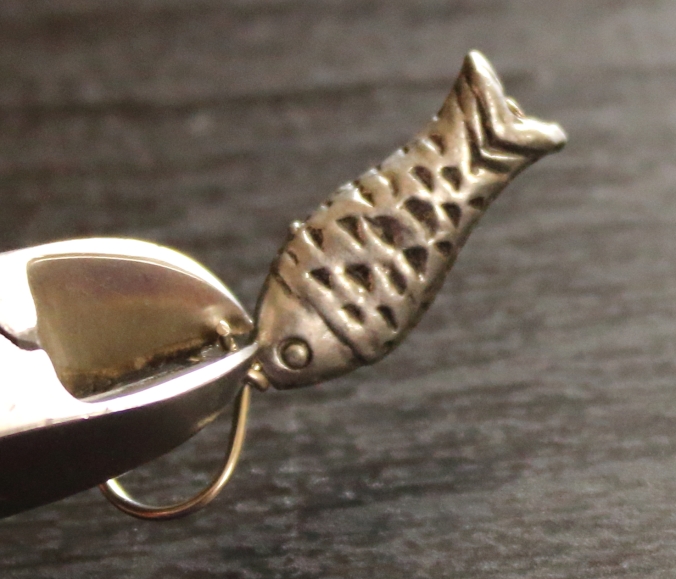
Step 2c. Take a look here and be sure you are happy with the length and wrap. This one is too long and loose.

step 2d go back and do it again to get what you want 4232

Step 2d. Start back over with a new headpin to get it just right.


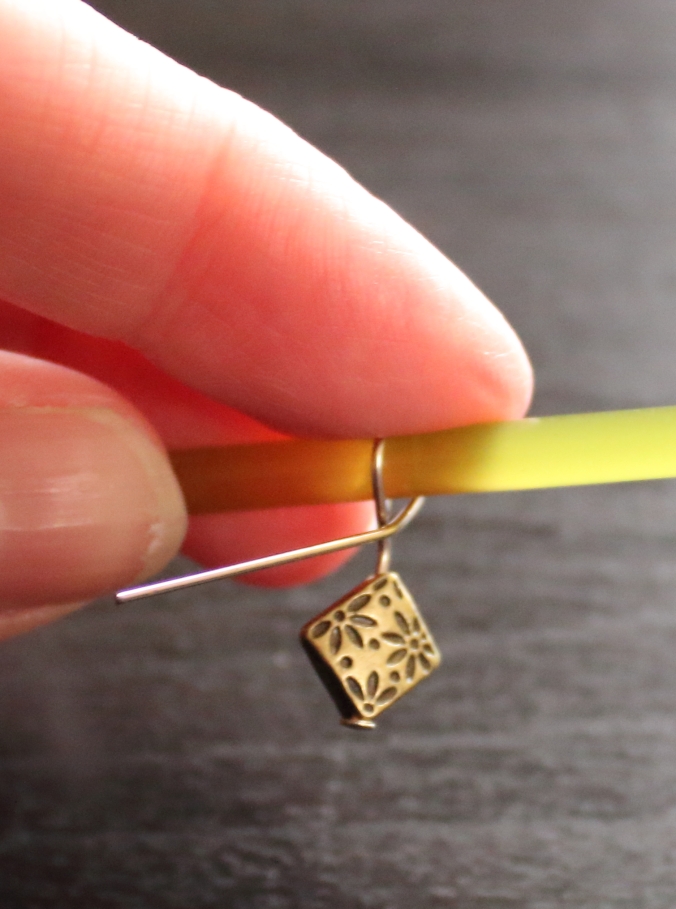
Now you’ll have little bits of wire sticking out on the end that might snag your yarn.


step 3b again 4261

Step 3. Use the wire cutters to snip off the excess wire.

step 4 flatten in the ends with needle nose 4184

Step 4. With needle nosed pliers gently fold the edge in and down so that it will not catch on yarn.

That is the whole process. It may take some practice to get your beaded markers just how you want them. Do keep in mind that headpins are low in cost so scrapping one (or many) to start over is easy enough.

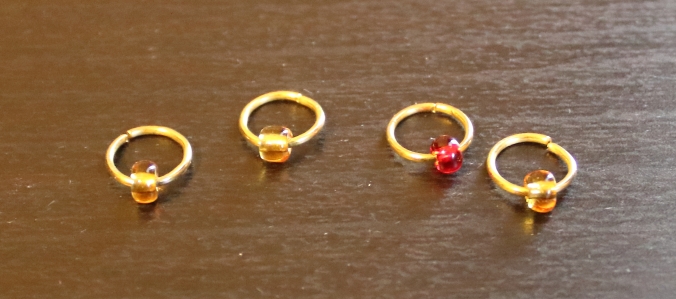
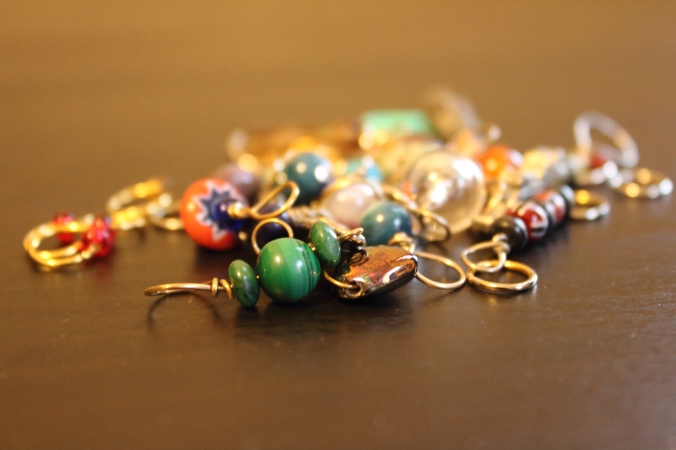
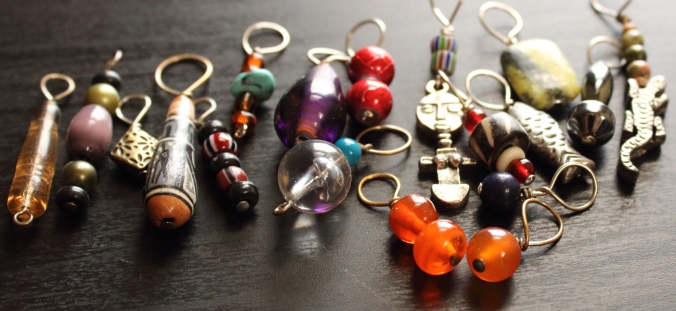
You can have a lot of fun with picking your beads to get your personal favorites. Here are some of mine:

finished stitch markers 4264

One other thing I love to do is rescue my lonely single earrings and make useful again as stitch markers. This is simple enough – use the wire cutters to snip the beads off the old earring headpin, arrange the beads as you like on a new headpin and work the wire like above.


So now that you’ve seen the process, are you itching to gather materials and start practicing already? Or have you decided instead to purchase some of the many, many beautifully crafted stitch markers available? I do both – I make most of my own stitch markers and sometimes I purchase sets that I love.

A quick Etsy search for stitch markers showed me more than 23,000 options priced from around $5 for a set to around $100 for a set with most closer to around $20. (That same quick Etsy search showed me some Star Wars themed ones that I might just ask for as a last minute Christmas gift for myself.)

Tutorial: DIY Simple Beaded Stitch Markers

pile-o-markers-ddp

I love stitch markers. I use them in all my designs. Unique ones to mark the beginning of rounds. Simple ones to mark the difference between body sections in sweaters or between cable repeats on smaller projects like cowls or hats. The little simple kind that aren’t much more than a enlarged jump ring are my favorites.

finished-beaded-sm

A while back I received some simple beaded stitch markers (similar to my finished ones here) as a bonus thank you with a yarn order. They were the best! Simple and thin metal like I love, but also the bead made them just different enough to use to mark different types of sections like you sometimes need with multiple cabled panels in a project.

Unfortunately, I also loose stitch markers. (The husband believes that if he were to search the house with a large enough magnet he would find hundreds of them popping out from under and behind and inside of every nook and cranny and piece of furniture in the house. He might be right.) So I quickly lost almost all of the lovely, lovely beaded stitch markers.

Instead of scouring the house for them I tried making my own and found that they are a simple, quick DIY project. Here is a rundown of what worked for me.

First I gathered supplies:

  • simple metal stitch markers
  • size 6/0 seed beads
  • needle nose pliers
  • a second set of pliers of some sort (rounded jewelry pliers are nice if you happen to have them on hand but not necessary if you don’t)
  • small container to hold the beads and markers
  • some sort of superglue (but as you’ll see in Step 5 below I decided to skip it)


step-1-dpp

Step 1: Use the needle nose pliers to get a firm grip on the stitch marker with the seam visible on top. (These simple markers are just short lengths of metal bent into circles so they each have a seam where the two sides of the metal length meet to form the circle.)

step-2-bsmt

Step 2: Use the rounded jewelry pliers or another pair of needle nose pliers to gently bend the stitch marker open.

Step 3: Slide the seed bead onto the stitch marker and let it fall to the bottom out of your way.

Step 4: Use your pliers to gently bend the stitch marker back closed. Because the seed bead is large enough it won’t easily slip off the stitch marker, you don’t have to close the gap up perfectly. In fact if you pull out a handful of these simple metal ring stitch markers from your project bags (or from under your furniture in a pinch), you’ll likely find several of them came with that gap slightly open and you’ve been using them that way without noticing or caring.

step-5-bsmt

Step 5: This step is optional. At first I put a small dab of superglue on each of the stitch markers at the gap and then slid the bead over the gap to glue into place. I’m happy to report I didn’t glue myself to anything unpleasant during this process (superglue and I don’t always get along). But I did find that the superglue did not always hold the bead in place.  And more importantly – I found that I do not need the bead to be held in a specific place on the marker. So I eliminated this step for myself. If you have a better relationship with superglue and/or a reason to want the beads stationary, please keep in mind that you should protect your work surface from glue drips and you’ll need a safe place to sit the beaded markers as they dry.

That’s it! Quick and easy.