New Patterns

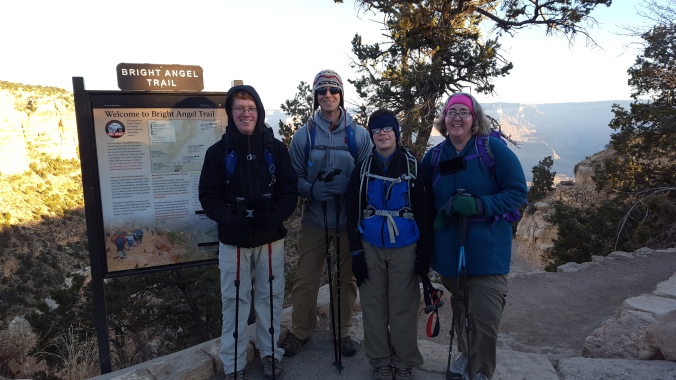
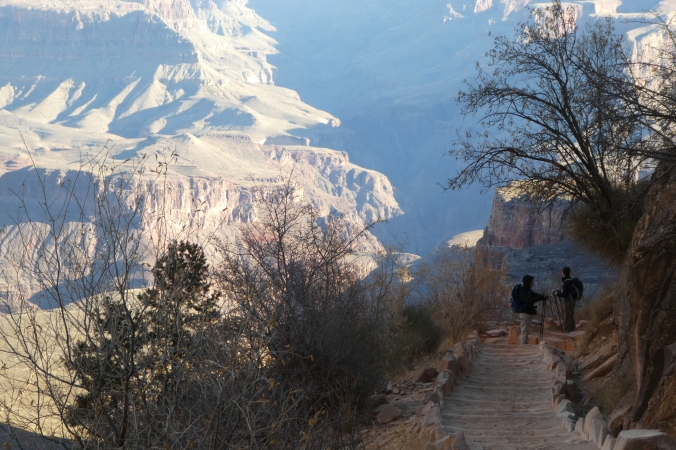
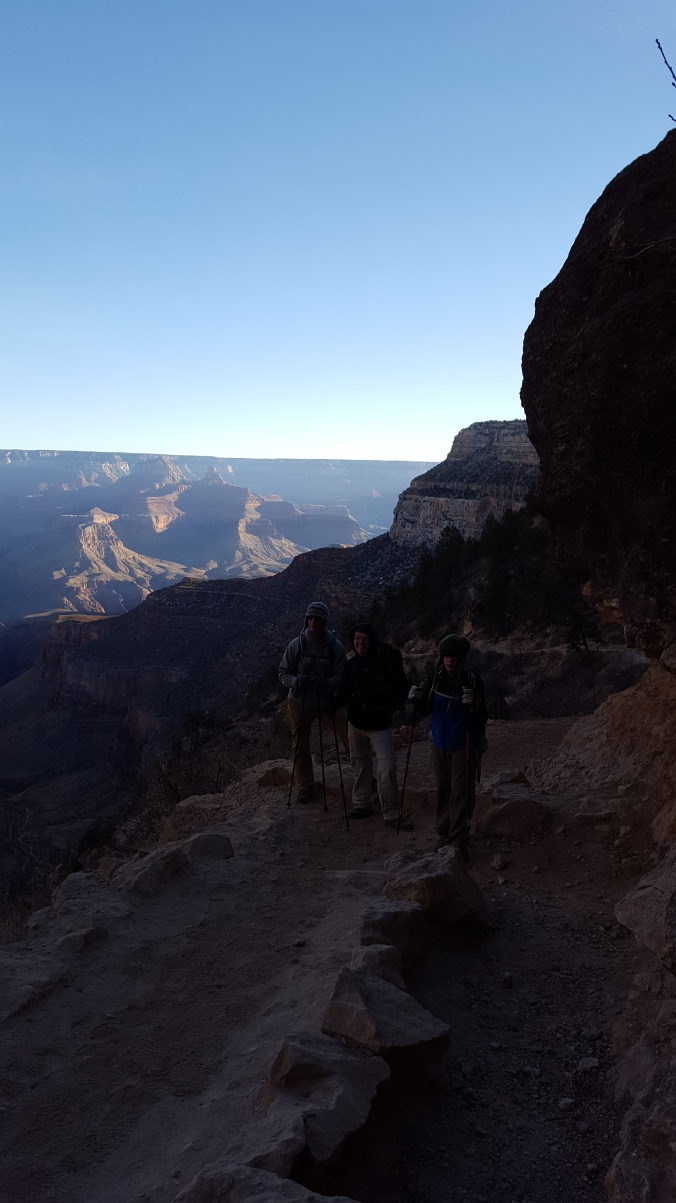
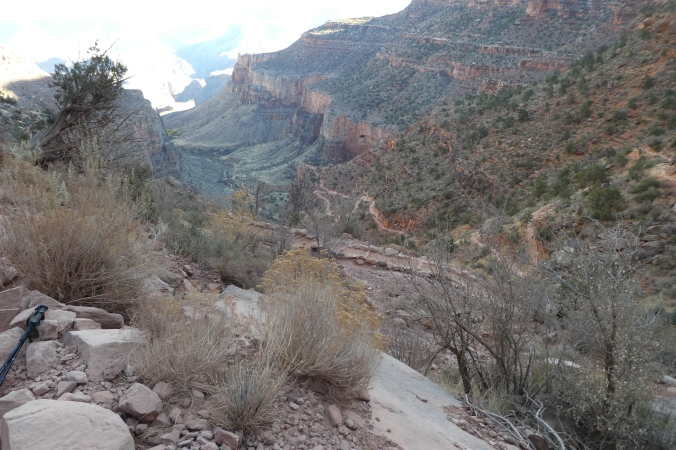
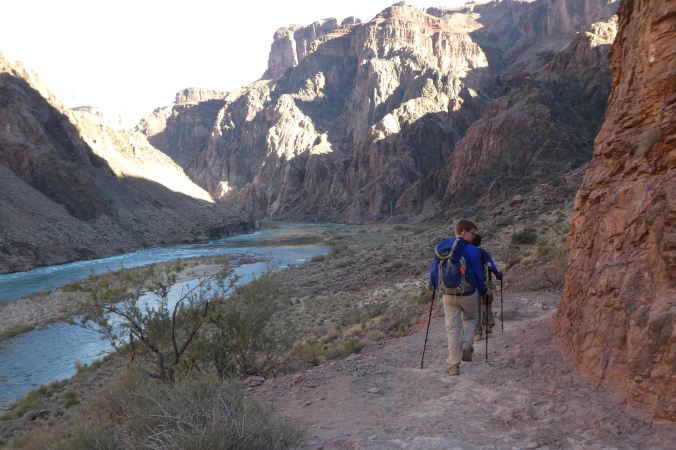
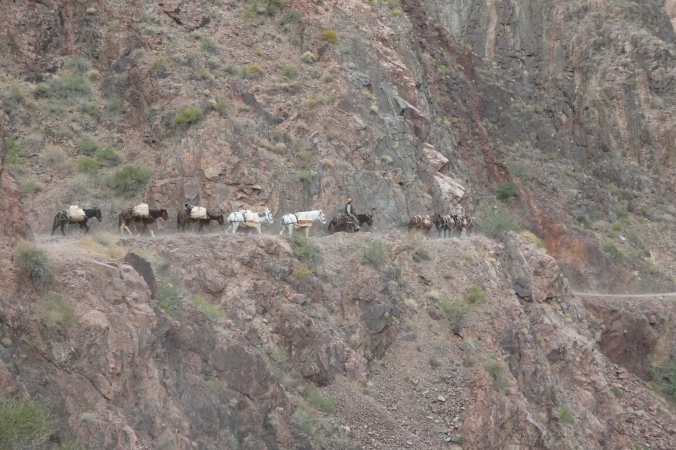
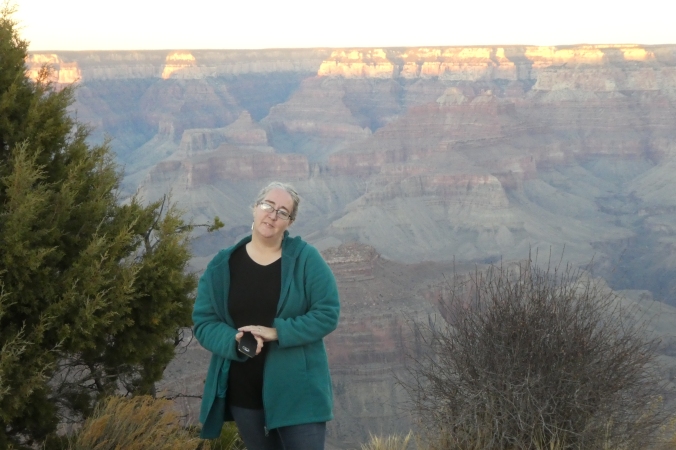
December went by in a flash! In between hiking the Grand Canyon and the holidays, I published two new patterns. I’m proud to introduce my Grand Canyon Scarf and the Aurora Hat.
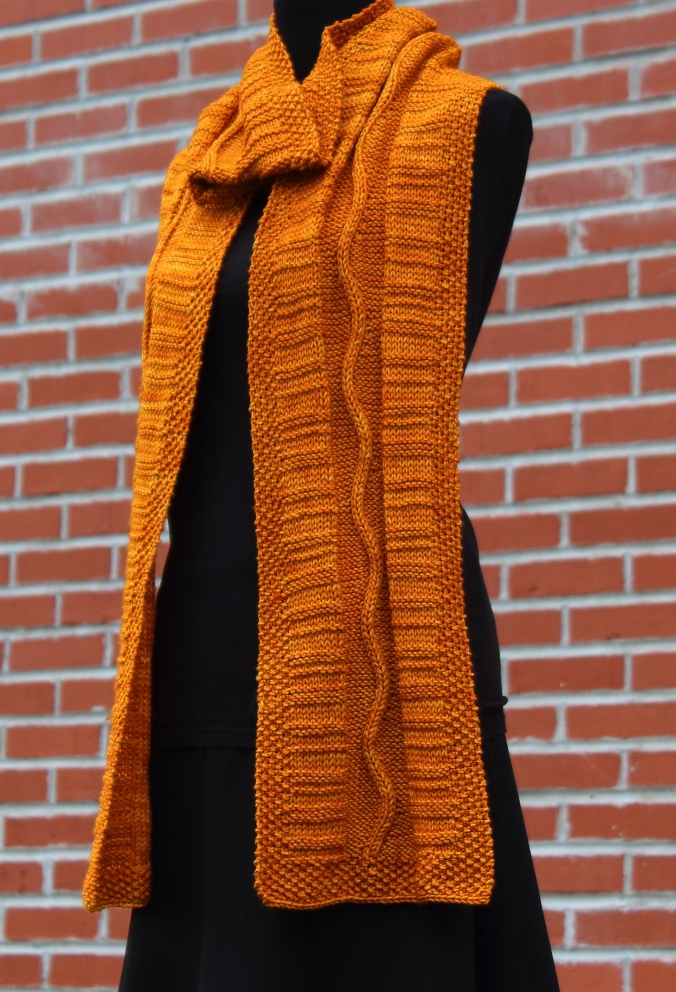
grand canyon scarf 3493

Grand Canyon Scarf

The Grand Canyon Scarf finished test knitting the day we were driving home from our Grand Canyon hike. That means that some of my very dedicated testers either needed to finish their project early or keep working while I was unable to access the thread. My testers are amazing people and I really, really appreciate all the time and work they put into each of my projects!

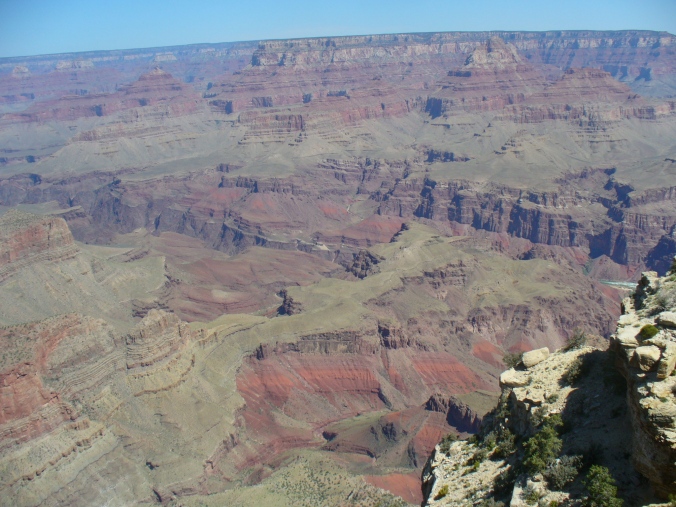
The Grand Canyon Scarf uses simple knits, purls, decreases and increases to evoke the beautiful geology of the Grand Canyon and the Colorado River that runs through it. No cables or cable needles! The Grand Canyon Scarf is part of my Arizona Collection along with the Sedona Cowl and Rock Art Shawl.

kindle hat 3436

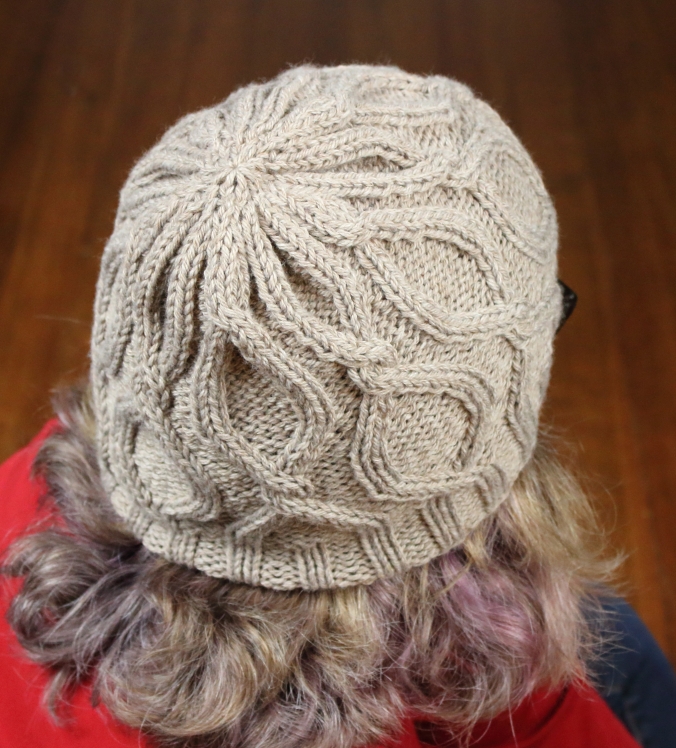
Aurora Hat in size Child-Adult S

The Aurora Hat finished test knitting in mid-December and is available now through Ravelry! The Aurora Hat uses simple knits, purls and basic cables to evoke the lovely glimmers and twists of dawn’s first light in the dark. The three sizes use the same number of cast on stitches and follow the same directions – the only difference is the gauge of the yarn used and the number of beginning ribbing rows completed!

Again I want to gush a little about my test knitters – as always I love how Ravelry brings together people from all over the world to share a common passion. For this test knit I had testers from Argentina, Canada, California, Australia, Illinois, Texas and Arizona all working and chatting together in the thread. It is always amazing to watch!


Pattern Spotlight: Azura

Azura 3262

Published in 2016 Azura combines a center front cable with matching textured panels on the body and sleeve edging for casual elegance. Perfect for chilly fall evenings, coffee on the outdoor patio and crisp morning walks. Azura is worked top down with a center front cable panel and simple stockinette on the rest of the body. Written in 7 sizes. Includes waist and hip shaping for a flattering fit. Cable is charted and written.

Azura 1

Azura is available through Ravelry, WEBS and LoveKnitting!

Tutorial: DIY Beaded Stitch Markers

pile-o-markers-ddp

I love stitch markers. I use them in all my designs. A while back I posted how to make simple beaded jump rings with seed beads. You can see that tutorial here.

Today I’m going to walk you through the process of making the unique markers that I use to denote beginning of rounds. You can make unique markers from many different types of beads so they are easy to personalize and make very nice last minute gifts for knitters on your list!

Making these beaded stitch markers does use more tools and findings (easily found online or at a craft store) and some practice.

gather supllies 4076

First gather your supplies. You’ll need:

  • stainless steel headpins or eyepins
  • beads, beads and more beads
  • sacrificial straight knitting needles in US sizes 7 and 10 or so  (unless something goes wrong you should be able to use the same needle for hundreds of stitch markers but it might get scuffs or scratches making it no longer usable for yarn)
  • needle nosed pliers
  • rounded jewelry pliers
  • wire cutters
  • small container to hold the beads and bits as you work

If you’re buying your beads online, two of my favorite sources are Fire Mountain Gems and Shipwreck Beads. They both also carry all the tools and findings.

step 1 put beads on head pins 4114

Step 1. Choose and place your beads on stainless steel headpins or eyepins. It makes sense to choose smaller beads for stitch markers you plan to make into the smaller sized markers.

step 2 wrap around needle 4206

Step 2a. With your fingers wrap headpin around the sacrificial needle.

step 2a bend back a bit 4215

Step 2b. Bend the wire slightly back. Then with rounded pliers wrap the excess wire around the headpin.

step 2c double check you like the length 4227

Step 2c. Take a look here and be sure you are happy with the length and wrap. This one is too long and loose.

step 2d go back and do it again to get what you want 4232

Step 2d. Start back over with a new headpin to get it just right.


Now you’ll have little bits of wire sticking out on the end that might snag your yarn.


step 3b again 4261

Step 3. Use the wire cutters to snip off the excess wire.

step 4 flatten in the ends with needle nose 4184

Step 4. With needle nosed pliers gently fold the edge in and down so that it will not catch on yarn.

That is the whole process. It may take some practice to get your beaded markers just how you want them. Do keep in mind that headpins are low in cost so scrapping one (or many) to start over is easy enough.

You can have a lot of fun with picking your beads to get your personal favorites. Here are some of mine:

finished stitch markers 4264

One other thing I love to do is rescue my lonely single earrings and make useful again as stitch markers. This is simple enough – use the wire cutters to snip the beads off the old earring headpin, arrange the beads as you like on a new headpin and work the wire like above.


So now that you’ve seen the process, are you itching to gather materials and start practicing already? Or have you decided instead to purchase some of the many, many beautifully crafted stitch markers available? I do both – I make most of my own stitch markers and sometimes I purchase sets that I love.

A quick Etsy search for stitch markers showed me more than 23,000 options priced from around $5 for a set to around $100 for a set with most closer to around $20. (That same quick Etsy search showed me some Star Wars themed ones that I might just ask for as a last minute Christmas gift for myself.)

Hiking: The Grand Canyon Hike

P1010440

We did it! We hiked down on Bright Angel Trail from the South Rim to Phantom Ranch. Spent the night. And then hiked back out all day from Phantom Ranch to the South Rim. We covered about 23 miles, about 4500 feet down in elevation and then back up those same 4500 feet. It was beautiful and awesome and hard and amazing!!!

20171128_080419

Leaving from the South Rim

P1010608

At the top on the way down.

20171128_082136

Still going down.

We trained with family hikes for a good part of the year before to prepare. But I was talking to another hiker in the women’s dorm at Phantom Ranch and she said she’d done it every year for the last 15 years and she didn’t think anything could truly prepare you for hiking the Grand Canyon since it is simply in a category all to itself. The training we did was enough for the husband and older boy to do it more easily. But the younger boy and I needed more endurance. All the hill training did mean that the climbing wasn’t a strain for my lungs and breathing which was especially awesome since I have asthma!!! The older boy and husband are already talking about a Rim to Rim hike next time. I’m thinking once was enough for me. The younger boy hasn’t decided yet.
P1010615

See that trail that stretches off into the distance? That’s a little less than halfway to the river.

P1010630

This is part of the next half down.

P1010642

At the river that helped form the canyon!

We hiked down for 7 hours leaving at 8:00 am from the Bright Angel trail-head and arriving at Phantom Ranch about 3:00 pm. We stayed about 15 hours at Phantom Ranch at the bottom. Then started our hike back up at 7:30 am the next morning and hiked out for 8.5 hours, arriving at the top about 4:00 pm.
P1010671

One of several water crossings.

P1010684

On the way back up.

P1010701

And up.

P1010698

And up.

It am so grateful that we hiked it as a family and made those memories. Our boys are 14 and 12 years old and they did amazing! What better proof do they need that they can accomplish just about anything they set their minds to and work towards? They’ve just done the almost impossible and that makes them mighty. Somewhere near 600,000 people visit the Grand Canyon each year and only about 1% of them make the trek to the river at the bottom. Fewer still do it on the power of their own feet. What an amazing life lesson to learn!!! I’m super proud we made it to the top (me especially since the last 3ish miles up were basically pure will power for me).
P1010749

Almost all the way back up!

We made sure we had lots of food and water and ibuprofen for the hike out. We also lightened our loads at Phantom Ranch by filling one Mule Duffel between us. We thought we had lightened our loads of everything we didn’t need before hiking down in. But once we reach the bottom and knew how very far we needed to climb back out, we each found more weight we could lose from our packs. We only put 16 pounds of the allowed 30 in our Mule Duffel since we were already traveling light. But it was definitely worth the $74.83 not to carry it out ourselves. Experience hikers carry almost nothing back up with them but we weren’t sure what we might need since this was our first hike out and kept a good chunk of our gear.

P1010668

Mule Duffels full of hiker’s stuff on the way back up to the Rim. Our stuff is in one them.

It was beautiful and awesome and hard and amazing. I’m glad we went and did it. And now I’m also glad to be done!!
P1010585
If we were to do it again, I think camping and stopping at a more leisurely pace would be very enjoyable.  My ideal itinerary would look something like: Day 1 hike down to Indian Gardens (4.7 miles down from the South Rim) and camp. Day 2 hike down to Phantom Ranch (4.6 to the end of the trail and then another 2ish miles along and across the Colorado River to Phantom Ranch). The meals at Phantom Ranch were wonderful and served family style with the other hikers and campers so I would be sure to reserve at least one dinner and breakfast.  Day 3 stay at Phantom Ranch and explore the area. Day 4 hike back up to Indian Garden and camp. Day 5 hike back out the last 4.7 miles and 3500 vertical feet. I think the added weight of camping equipment would be worth it to have more time to explore and rest between hikes. We would train more too.