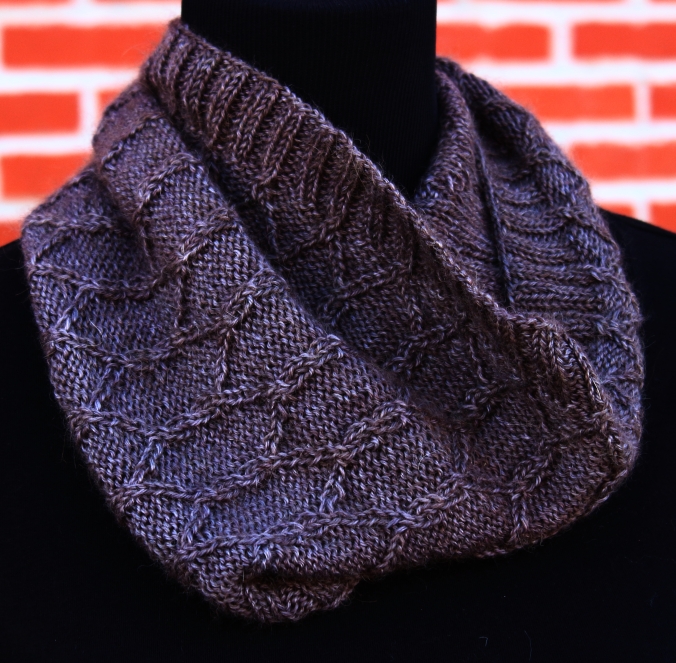
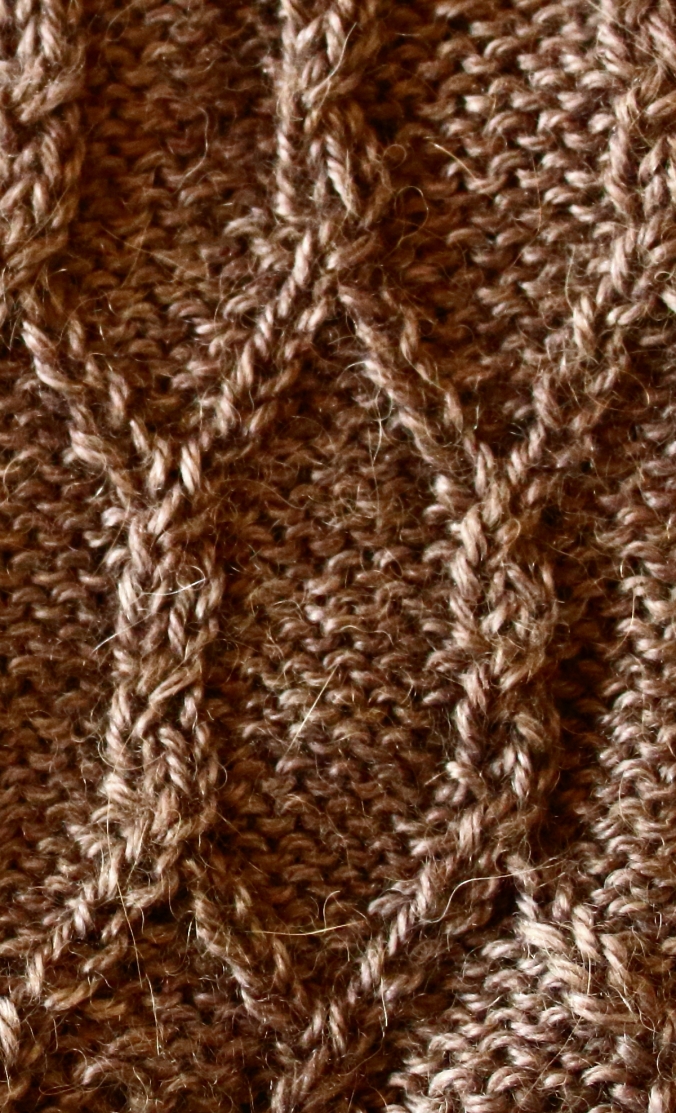
My Bletchley Park Cowl is in test knitting right now. The cowl features three different very small cables involving only 2 stitches each. These tiny cables can be done either with cable needles or without. The results are very often close enough that it is hard to tell them apart. In fact, that is one of the great things about knitting – we don’t all have to follow exactly the same path or even agree on which path is correct to get to the same place in the end. Maybe that is a life lesson we should all internalize more these days.
In this post I want to take a quick side-by-side look at these tiny cables worked in different ways. This will not be a tutorial of how to make these tiny cables or twists. There are already many very good tutorials and videos about that out there. Google “cabling without a cable needle” and read or watch as many as you like. I’ve included links to some of my favorites at the bottom of this post. Remember not everyone will go about the process the same way and that is just fine.
The first cable in the Bletchley Park Cowl is a right cable with two knit stitches.

Here is a sample I worked up of the right cable with two knit stitches in three different ways. The first is a Right Twist or RT. The second uses a cable needle for a 1/1 RC. And the third is a faux cable. As you can see, these three look very similar and truly are hard to tell apart.
The specific directions I used for my sample are:
- Right Twist (RT): Knit into front of the second stitch on the needle without dropping it from the needle. Then knit the first stitch on the needle as you normally would. Then slip (or drop) both stitches off the needle at the same time.
- 1/1 RC: Slip one stitch onto a cable needle or dpn, hold in back, knit one stitch from the left-hand needle, knit one stitch from the dpn.
- Faux cable: Knit the next two stitches together without dropping either from the needle. Then knit into the first stitch again. Then slip (or drop) both stitches off the needle at the same time.
The next two cables in the Bletchley Park Cowl are a right cable with one knit stitch plus one purl stitch and a left cable with one knit stitch plus one purl stitch.
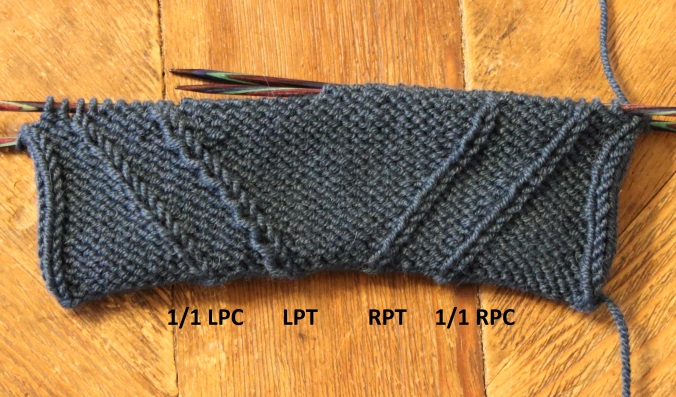
Here is a sample I worked up of the left cable and the right cable with one knit stitch and one purl stitch in two different ways. For the left leaning cables the first uses a cable needle for a 1/1 LPC, and the second is a Left Purl Twist or LPT. For the right leaning cables the first uses a Right Purl Twist or RPT, and the second uses a cable needle for 1/1 RPC. For these tiny cables, my left leaning ones do look different, but the right leaning ones again look very much the same. I suspect the difference in the left leaning cables is due to the directions I chose to follow. If I were to try it again, I’d go looking for different directions that worked better for me.
The specific directions I used for my sample are:
- 1/1 LPC: Slip one stitch onto cable needle or dpn, hold in front, purl one stitch from left-hand needle, knit one stitch from dpn.
- Left Purl Twist (LPT): Purl into the back of the second stitch on the needle without dropping it from the needle. Then knit the first stitch on the needle as you normally would. Then slip (or drop) both stitches off the needle at the same time.
- Right Purl Twist (RPT): Knit into the front of the second stitch on the needle without dropping it from the needle. Then purl the first stitch on the needle as you normally would. Then slip (or drop) both stitches off the needle at the same time.
- 1/1 RPC: Slip one stitch onto cable needle or dpn, hold in back, knit one stitch from the left-hand needle, purl one stitch from the dpn.
To be honest I prefer working all of these tiny cables like normal cables with a cable needle (or actually with a dpn since I don’t own a cable needle). But I’m in the minority and most people prefer to work the twists without a cable needle.
As promised, here are a few of my favorite video resources for this:
Cat Bordhi’s A Nimble Knitter’s Left Cross & Right Cross
Berroco Yarn’s Right Twist and Left Twist
The Sweater Collective’s Stitch Tutorial: RPT (Right Purl Twist) (and their others including LPT, RT and LT)