Pattern Spotlight: Kenia

kenia1

Kenai was originally published in 2012. Updated in 2016 with added sizes, new formatting and edits.

kenia2

Kenai is a warm tee intended to layer over basic long sleeves when you need extra warmth but not a whole sweater, written in 7 sizes. This design is a simple top down seamless raglan with a deep v-neck, waist and hip shaping, tunic length and two front pockets.

The name Kenai (pronounced KEE-nie) comes from the Kenai Pennisula in Alaska we visited last summer. This tee is perfect layering for the Alaskan summers of cool mornings and pleasant afternoons.

Kenia is available through Ravelry, WEBS and LoveKnitting!


Winter Hiking

The first thing I should say is that this post might be better named asĀ “Winter Hiking Light” or “Winter Hiking….sort of” or “Winter Hiking….on warmer winter days”. Because I’ll be honest with you, if it is bitterly cold or any serious precipitation is falling, I will not be hiking that day. I will reschedule for a nicer winter day when the forecast is more reasonable.

For our Grand Canyon hike we had no control over the weather so we did prepare for more extreme hiking conditions. Plus the husband and two boys went with the Troop to far, far, far north Minnesota for Winter Camp this winter and they prepared for even more extremes there.

I’ve included some of what we learned from those experiences here. But mostly I’ve talked about how I prepare for an actual hike on a mid-western mild winter day (if I have a choice I’ll hike with temperatures as low as 20 degrees Fahrenheit and a brisk wind but that is about my limit).

15350532_10211201440621430_4105666235875851389_n

The most important thing for enjoying a winter hike and staying safe is layering! My husband repeats often that the goal is to stay comfortably cool. If you are too warm, you will sweat and then you’ll be hiking in wet clothes which is uncomfortable at best and dangerous or downright deadly at worst. So you are supposed to wear layers that you can remove as you warm up and put back on as you cool down during your hike. Layering is supposed to be a base layer, then a mid layer, then an insulating layer and finally outerwear.

base layer 4909

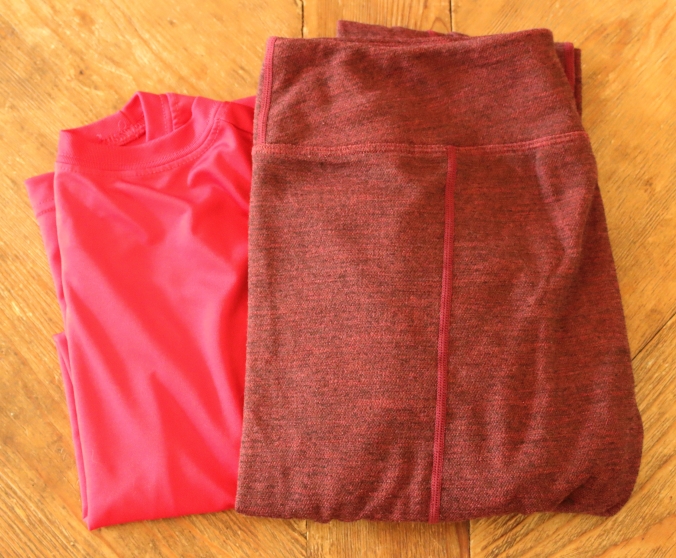
For my hikes I wear a base layer (worn right next to your skin to wick moisture away from your body to keep you dry and provide some additional warmth) of polyester/wool leggings and a 100% polyester dry fit shirt.

mid layer 4916

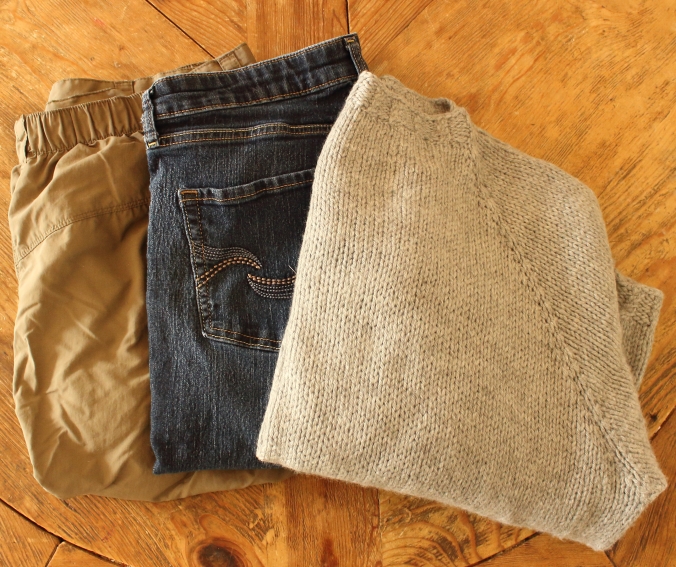
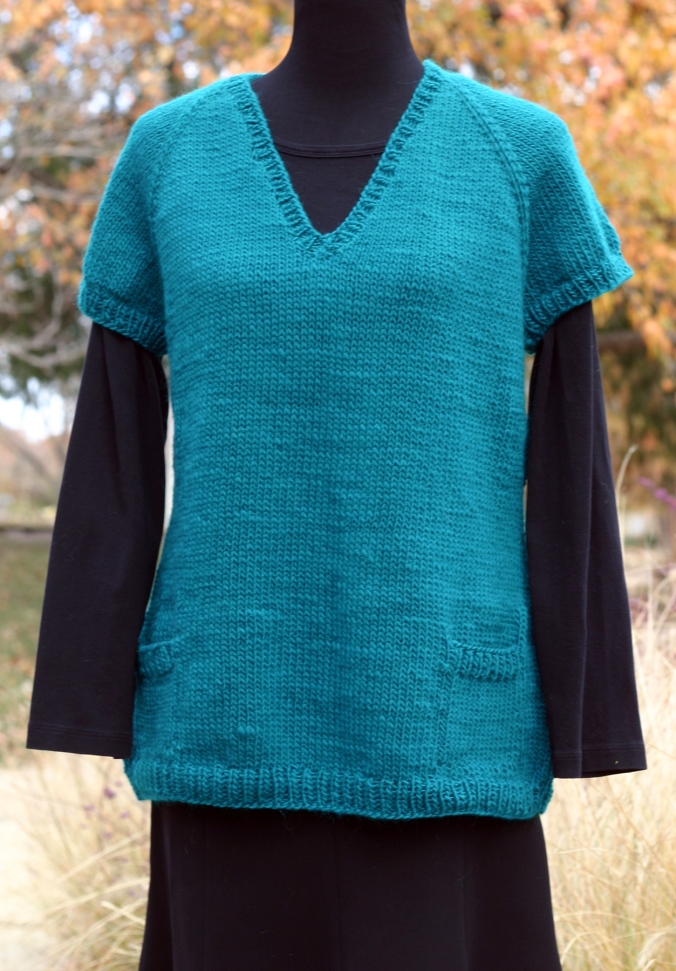
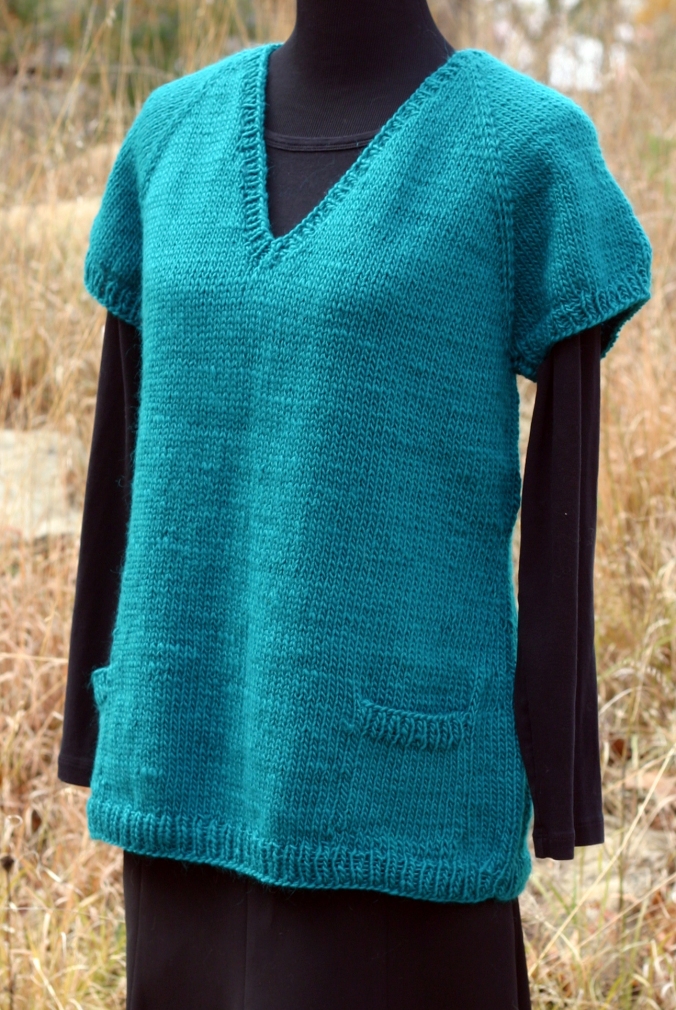
Next I sort of combine my mid layer (worn directly over your base layer to boost warmth slightly) and my insulating layer (traditionally an optional warmer layer over the mid layer). For this second layer I wear a wool sweater and either 100% nylon hiking pants or jeans. Fleece sweatpants covered by nylon hiking pants would be the smarter choice. But I don’t do that for two reasons: I don’t own fleece sweatpants and I don’t love my hiking pants. I’ll wear them if safety is a true concern, otherwise they stay in my closet. I generally don’t wear an outer layer on my legs.

torso 4866

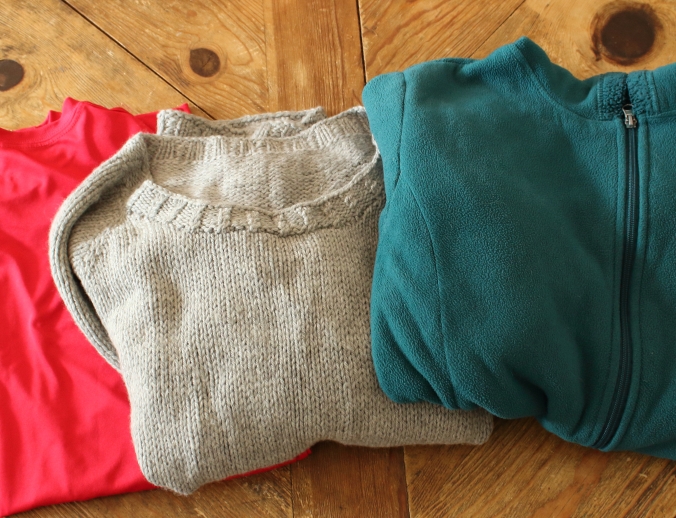
For my torso I do add a heavy fleece jacket, an insulated rain jacket or a heavy winter coat depending on the weather.

The second important thing to remember for winter hiking is that cotton is not your friend for this. Instead you are supposed to wear polyester, wool, alpaca, silk or other materials that are breathable, moisture-wicking and fast-drying.Ā Ā In fact, in packing for Northern Tier the boys were told repeatedly, “Remember, cotton kills!” I’ve never hiked in the extreme temperatures that they were out in every day at camp, so I think of cotton as more of a frenemy than a killer on my hikes. For example, the jeans I sometimes wear as my mid layer would have been a big no-no for winter camp.

hands head and feet 4858

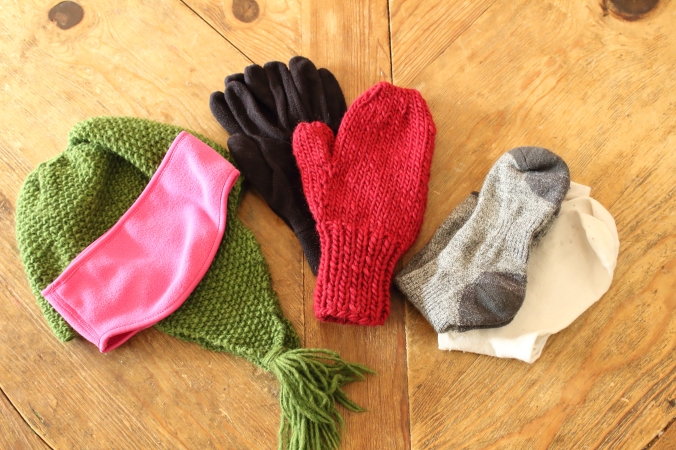
You also need to keep your hands, feet and head warm while you hike. Follow the same idea of layering on your extremities. Again I pick and choose what works for me. For example I’ve finally been converted to wear wool/nylon liner socks under wool socks for my feet. But I generally forego any liner gloves and just wear my knit wool mittens instead. I almost always wear a fleece headband and sometimes add a knit wool hat.

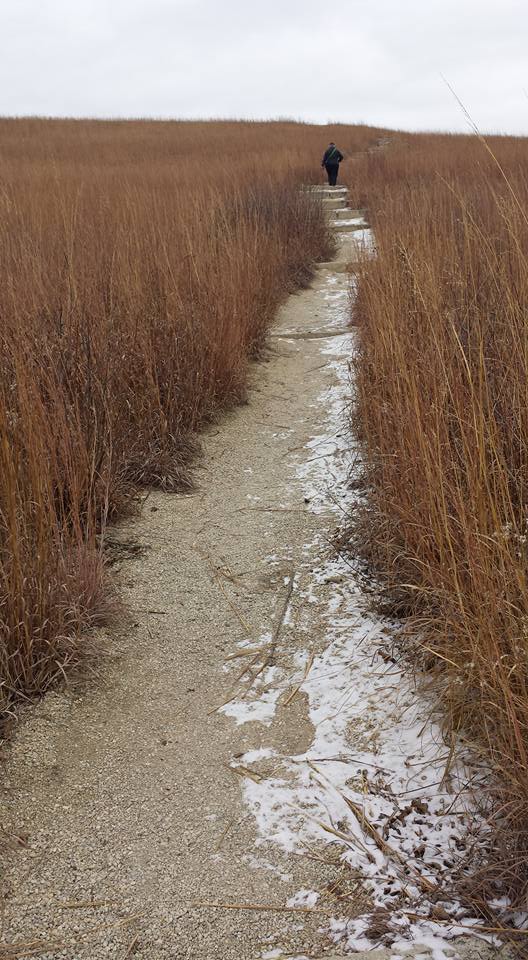
And finally you need to do the normal safety hiking things for a winter hike. Bring your charged phone in case you need to make a call, hike with a buddy or at the very least make sure someone knows where you will be and when to expect you back, consider trekking poles for stability on possibly slippery trails, wear sturdy hiking shoes, take plenty of water and snacks for fuel, know your route and stay alert.

Sierra Trading Post has one of my favorite guides to layering here. Plus a good chunk of our gear has come from clearance sales on Sierra Trading Post. Sizes are hit and miss but it you are willing to visit the site often, you can find some really good deals on gear.


Sneak Peak: Bletchley Park Cowl

bletchley park cowl 4473b

The Bletchley Park Cowl test knit is almost finished.Ā Inspired by the top-secret center for decryption that provided vital intelligence and helped win WW2. The Bletchley Park Cowl uses simple knits, purls and twists to evoke the interconnected pathways of codes and ciphers in an all-over texture. This cowl is a warm and cozy addition to any wardrobe.

This cowl uses the tiny cables or twists discussed in last week’s post.

The pattern will be published just as soon as I finish final edits at the end of the test knit. The test knit deadline is coming right up on February 16th!

Interesting side note:Ā Bletchley Park recruited some 10,000 people by the height of code-breaking in 1945 and two-thirds of them were women. Learn more about the work they did and how they helped win the war here and here and here. I’d love to be able to visit some day with my boys.

Tiny Cables

My Bletchley Park Cowl is in test knitting right now. The cowl features three different very small cables involving only 2 stitches each. These tiny cables can be done either with cable needles or without.Ā The results are very often close enough that it is hard to tell them apart. In fact, that is one of the great things about knitting – we don’t all have to follow exactly the same path or even agree on which path is correct to get to the same place in the end. Maybe that is a life lesson we should all internalize more these days.

bletchley park cowl close up 4504b

In this post I want to take a quick side-by-side look at these tiny cables worked in different ways.Ā This will not be a tutorial of how to make these tiny cables or twists. There are already many very good tutorials and videos about that out there. Google “cabling without a cable needle” and read or watch as many as you like. I’ve included links to some of my favorites at the bottom of this post. Remember not everyone will go about the process the same way and that is just fine.

The first cable in the Bletchley Park Cowl is a right cable with two knit stitches.

close up cable comparisons 4822 with text

Here is a sample I worked up of the right cable with two knit stitches in three different ways. The first is a Right Twist or RT. The second uses a cable needle for a 1/1 RC. And the third is a faux cable. As you can see, these three look very similar and truly are hard to tell apart.

The specific directions I used for my sample are:

  • Right Twist (RT): Knit into front of the second stitch on the needle without dropping it from the needle. Then knit the first stitch on the needle as you normally would. Then slip (or drop) both stitches off the needle at the same time.
  • 1/1 RC: Slip one stitch onto a cable needle or dpn, hold in back, knit one stitch from the left-hand needle, knit one stitch from the dpn.
  • Faux cable: Knit the next two stitches together without dropping either from the needle. Then knit into the first stitch again. Then slip (or drop) both stitches off the needle at the same time.

The next two cables in the Bletchley Park Cowl areĀ a right cable with one knit stitch plus one purl stitch and a left cable with one knit stitch plus one purl stitch.

close up cable comparison 4837 with text


Here is a sample I worked up of the left cable and the right cable with one knit stitch and one purl stitch in two different ways. For the left leaning cables the first uses a cable needle for a 1/1 LPC, and the second is a Left Purl Twist or LPT. For the right leaning cables the first uses a Right Purl Twist or RPT, and the second uses a cable needle for 1/1 RPC. For these tiny cables, my left leaning ones do look different, but the right leaning ones again look very much the same.Ā I suspect the difference in the left leaning cables is due to the directions I chose to follow. If I were to try it again, I’d go looking for different directions that worked better for me.

The specific directions I used for my sample are:

  • 1/1 LPC: Slip one stitch onto cable needle or dpn, hold in front, purl one stitch from left-hand needle, knit one stitch from dpn.
  • Left Purl Twist (LPT): Purl into the back of the second stitch on the needle without dropping it from the needle. Then knit the first stitch on the needle as you normally would.Ā Then slip (or drop) both stitches off the needle at the same time.
  • Right Purl Twist (RPT): Knit into the front of the second stitch on the needle without dropping it from the needle. Then purl the first stitch on the needle as you normally would.Ā Then slip (or drop) both stitches off the needle at the same time.
  • 1/1 RPC: Slip one stitch onto cable needle or dpn, hold in back, knit one stitch from the left-hand needle, purl one stitch from the dpn.

To be honest I prefer working all of these tiny cables like normal cables with a cable needle (or actually with a dpn since I don’t own a cable needle). But I’m in the minority and most people prefer to work the twists without a cable needle.

As promised, here are a few of my favorite video resources for this:

Cat Bordhi’sĀ A Nimble Knitter’s Left Cross & Right Cross

Berroco Yarn’s Right Twist and Left TwistĀ 

The Sweater Collective’s Stitch Tutorial: RPT (Right Purl Twist)Ā (and their others including LPT, RT and LT)